Why Ignoring the Robot Can Win You More Push Games
Overwatch 2 Push mode strategy: ignoring the robot can secure victory by leveraging defensive positioning and risk management.
If you’ve spent any time in Overwatch 2 since its launch, you’ve probably been thrown into the chaos of Push mode. Two teams, a single hulking robot, and a barricade that inches forward depending on who’s babysitting it. I’ve played hundreds of Push matches over the years, and if there’s one lesson that still gets ignored in 2026, it’s this: sometimes the smartest move is to pretend the robot doesn’t exist.
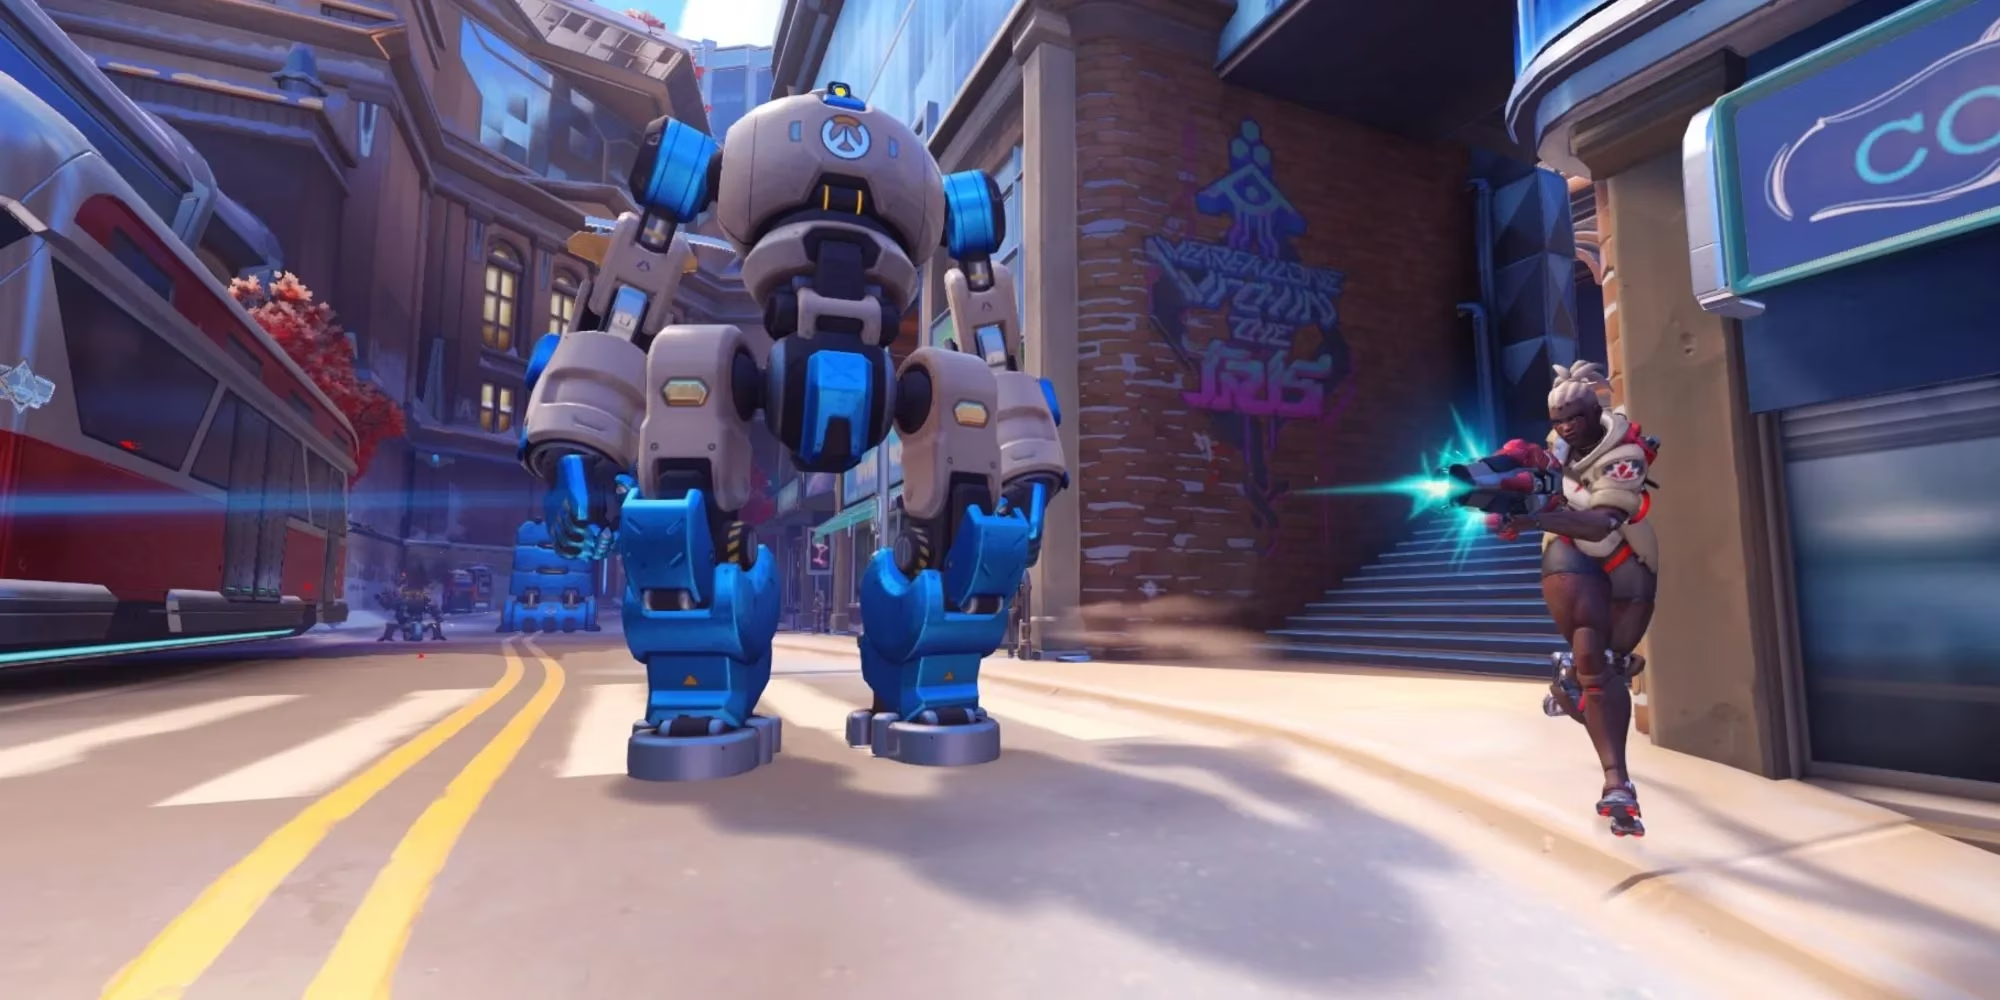
Let’s rewind to the basics. The robot—let’s call him TS-1—starts smack in the middle of the map. Your job is to escort him toward the enemy spawn by standing near him. He walks when a teammate is close and stops when no one is around or when enemies contest him. The match doesn’t require you to deliver the robot all the way to the opponent’s door. If time runs out, the winner is simply the team that pushed the barricade farther from its starting point. That detail changes everything, and yet I still see players tunnel-visioning on the robot like it’s a payload they must lock down forever.
Here’s the scenario that made me a believer in the \u201cignore the bot\u201d strategy. It was a tight game on Colosseo. We had a solid lead—our barricade was about 80 meters ahead. The enemy team was trickling back, desperate to flip the momentum. Our tank started spamming \u201cGroup up!\u201d and three of our teammates obediently huddled around TS-1, shoving him deeper into enemy territory. I was on support, watching the map, and alarm bells were ringing. By dragging the robot right up to their spawn, we were giving the red team an enormous advantage: they could step out of spawn, contest almost immediately, and use their spawn’s healing buffer to sustain a fight. That’s exactly what happened. They rolled us, took control, and pushed the robot several meters past our lead before we stabilized. We barely scraped a win, but it should never have been that close.
So why does ignoring the robot work when you’re ahead? It’s all about positioning and risk management. When your team has the lead, the robot belongs to the losers. They have to move it to win; you don’t. Your only goal is to stop them from doing that. Instead of babysitting TS-1 and pulling him into dangerous, hard-to-hold ground, you can set up in the most defensible part of the map—usually a high ground or a choke point somewhere behind the robot’s current position. Let the robot sit still. He’s perfectly safe where he is, and every second he stays motionless is a second the losing team isn’t gaining distance.
This turns the mode into a classic defensive hold. Your tank can anchor a corner, your DPS can take off-angles, and supports can play sightlines that the enemy can’t easily dive. When the other team comes to push the robot, they are the ones forced to walk into your kill zone. They can’t sit back and poke forever because time is against them. If you keep picking them off, they never get a clean, sustained push. And even if they regain control briefly, by the time they walk the robot back to where you were holding, they’ve likely burned valuable cooldowns or lost a member, letting you collapse on them again.
I’ve seen the alternative go wrong too many times. A leading team mindlessly pushes TS-1 right up to the enemy’s final corner. At that point, the defenders can swap to close-range brawlers, touch the robot, and get an immediate team fight with full resources. Momentum swings violently; suddenly your 70-meter lead evaporates because you gave them a fight they couldn’t lose. The robot doesn’t care about your feelings—he just walks whichever way the contest goes.
But not everyone gets this yet, even in 2026. I still run into teammates who spam \u201cPush the robot!\u201d in chat when we’re already two fights up. The Overwatch 2 community has had this conversation countless times on Reddit, and the exasperation is real. I remember a popular post from a few years back where a player detailed exactly this scenario and begged people to stop feeding. The collective sigh of high-Elo players was palpable. It’s one of those things: once you understand it, you can’t unsee the mistakes.
To execute the strategy cleanly, communication helps, but you can also do it with pings and body language. After winning a fight that gives you a solid lead, I’ll often ping the retreat signal back toward our team’s side. I’ll set up in a safe spot with a view of the robot and spam \u201cFall back!\u201d a couple of times. If even two teammates join me, the others usually follow. If you’re a tank, you’re the most influential voice here. Choose a strong corner, plant yourself, and don’t move. When the enemy team shows up, you have the positional edge. They’ll either trickle in out of desperation or wait for a full regroup, which burns time.
| Situation | Smart Play | What Many Players Do Wrong |
|---|---|---|
| You have a ≥30m lead | Leave robot, hold high ground/ choke | Push robot deeper, overextend |
| Enemy regroups and approaches | Fight from cover, delay them | Stand on robot, get collapsed on |
| Robot is at a neutral position but you’re up 1 or 2 picks | Don’t push; control spawn exits | Overtaunt the robot and stagger your team |
Of course, there are exceptions. If you can push the robot to a checkpoint and trigger forward spawns that are favorable (for instance, New Queen Street’s forward spawn) or if you’re close to ending the game entirely, it might be worth the risk. But those are judgment calls. The general rule holds: lead acquired, robot abandoned.
What I love about this strategy is that it shows how Overwatch 2 rewards game sense over mechanical skill. You don’t need to hit every headshot to win Push. You just need to understand map geometry, spawn advantages, and the clock. The next time you’re up by a healthy margin, resist the urge to babysit TS-1. Find a cozy high ground, wave at your team, and let the robot enjoy a quick nap. Your win rate might just thank you.